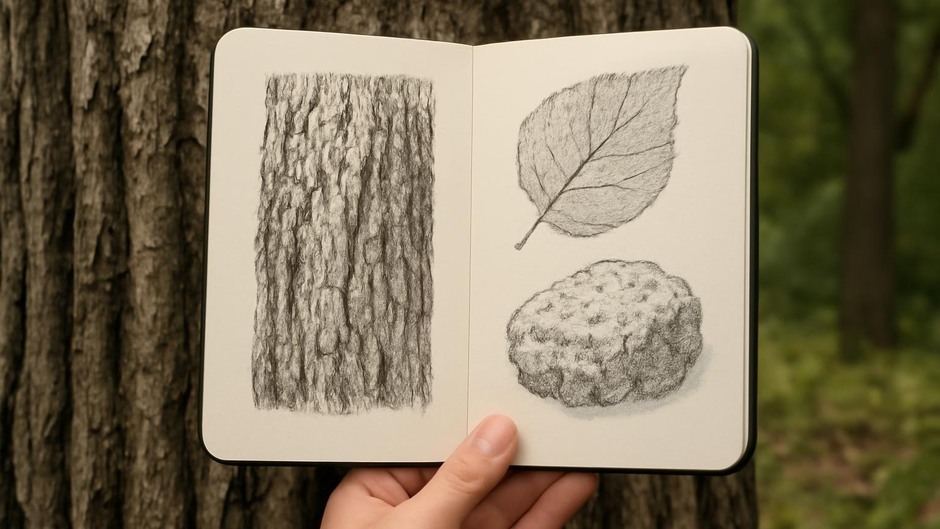
Simple Texture Studies: Bark, Leaf, and Stone
Why study texture separately?
Textures carry information about a surface and its history. When you practice texture studies, you train your eye to notice small repeating patterns, changes in scale, and the relationship of light to form. Separating textures into short exercises makes the learning manageable and more reliable.
Study 1: Bark — rhythm and scale
Bark reveals growth patterns and environmental effects. Look for scale—the size of fissures relative to the twig or branch—and rhythm, the repeating shapes along the trunk.
- Choose a short section, about the width of your hand.
- Spend two minutes scanning: note ridges, plates, flakes, and lichen. Make quick mental labels such as deep furrows or scaly plates.
- In pencil, draw the overall silhouette of the section, then block in the largest dark shapes.
- Use a softer pencil (4B) to add small directional marks that follow the bark’s rhythm. Avoid tiny copywork; suggest texture with repeated strokes that relate to form.
Study 2: Leaf — veins and edge detail
Leaves offer a contrast: fine structure and transparency. Here the focus is on the order within a delicate object.
- Select a single leaf or a cluster with a clear primary vein.
- Measure the leaf roughly with your pencil and note proportions: length versus width.
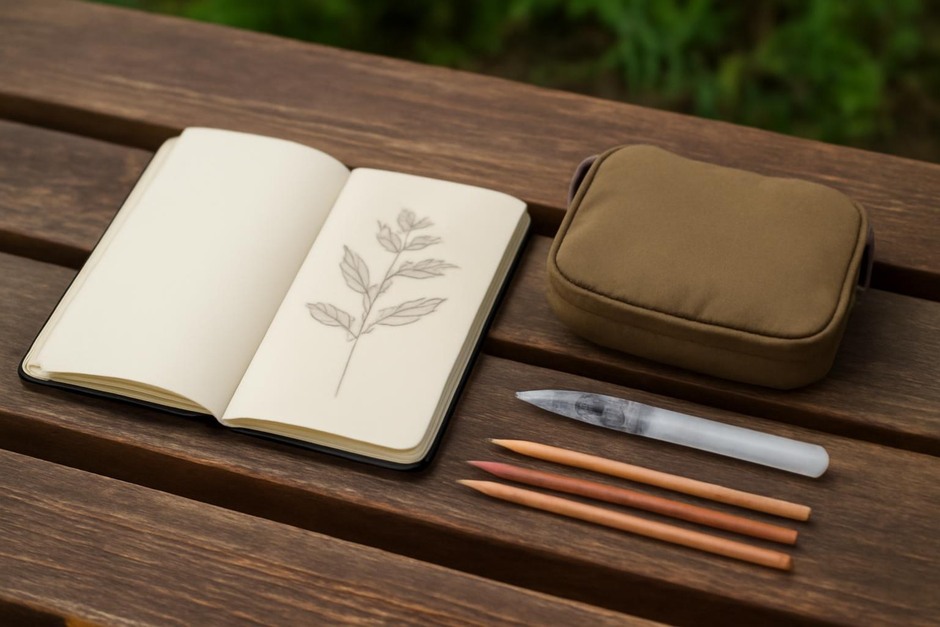
- Lightly draw the main vein and the largest secondary veins; these act as the leaf’s framework.
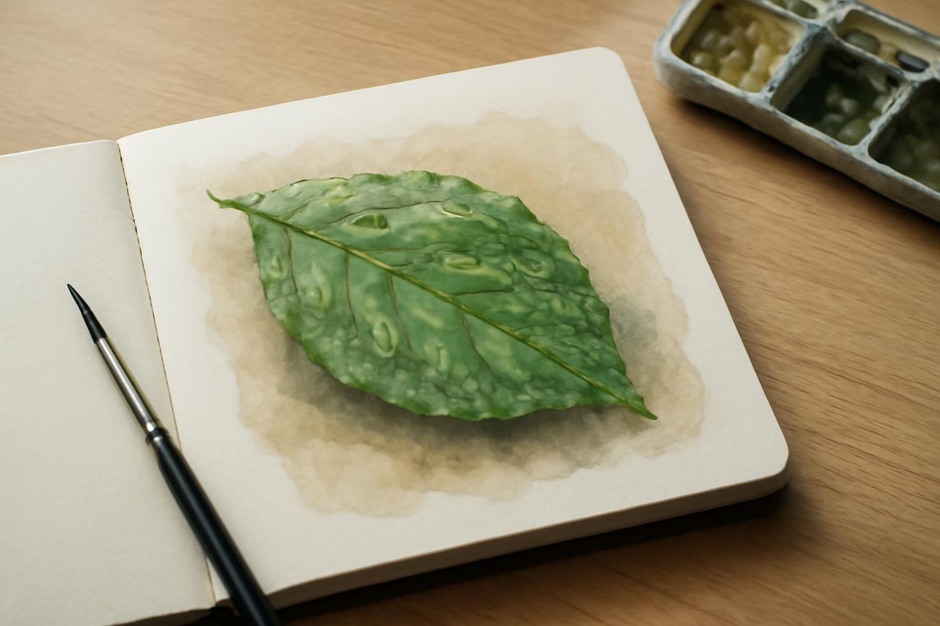
- Add texture by indicating smaller veins and surface marks. Use a pen for crisp vein lines if you like, then add soft tone with a light wash or pencil shading to show translucency.
Study 3: Stone — weathering and contact
Stone captures environmental interaction—freeze-thaw cracks, water smoothing, moss patches. Observe how texture varies across a single rock.
- Note where the stone contacts soil, water, or plant life; these zones often have distinct textures.
- Make a quick tonal map: where the darkest shadows sit, where highlights are strongest.
- Use hatching and stippling to suggest grain and pitting. Keep marks larger for distant roughness and smaller for close detail.
Practical checklist before a texture session
- Choose one subject for 15–20 minutes.
- Right tools: pencil range, small pen, and an eraser.
- Clear workspace in your sketchbook with space for notes.
- Optional: a small ruler or stopwatch to keep the session focused.
Reflection prompts
- Which texture felt easiest to describe and why?
- What made me simplify rather than copy every detail?
- Which mark or stroke captured the surface most convincingly?
- What would I try differently in a repeat study?
Texture studies are small, repeatable practices that sharpen both perception and mark-making. Return to the same subject at different times to notice how light and moisture change the texture. Over time these short studies will give you a clearer visual vocabulary for larger compositions.